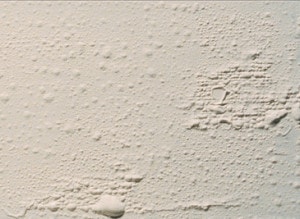
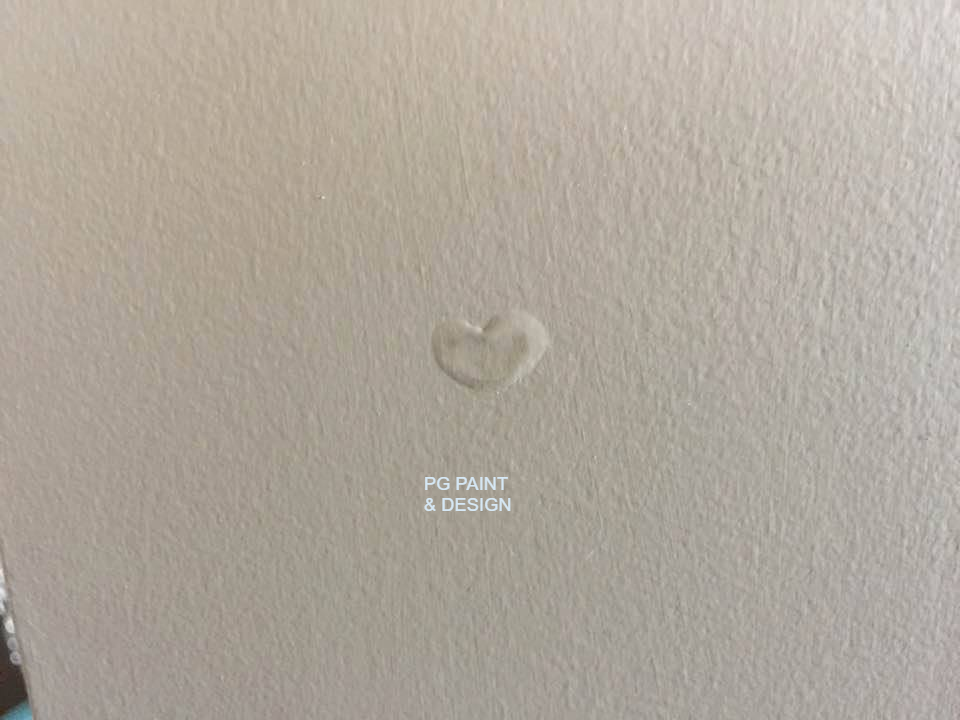
Paint bubbles also referred to as paint blisters will form after painting before and after the paint is dry. Mainly caused from the the separation and loss of adhesion of the paint from the surface.

If paint bubbles are left unfixed it can lead to peeling paint . Finding the cause of the problem, fixing it will help to avoid getting paint bubbles and prevent a re-occurrence.
The following are general tips on how to fix or repair paint bubbles in wall and or ceiling paint.
Why Does Paint Bubble
Usually paint bubbles are caused from extreme heat, moisture or a combination of the two.
Common causes of bubbling paint are things like, moisture, painting in extreme temperatures and/or direct sunlight, not doing the necessary prep work to prepare the surface before painting, or using oil-based paint over latex paint.
Paint will bubble when painting on a damp, dirty or hot surface, therefore it is recommended that the area to be painted is free from dust and debris. There is a separation and loss of adhesion of the paint from the surface if these are not done prior to applying paint.
Painting with an oil based paint or acrylic paint over a latex paint is not recommended. Improper surface preparation of the walls before painting, excessive moisture such as in kitchens or bathrooms will lead to bubbling paint if the proper paint products and paint primers are not used.
How To Fix Or Repair Paint Bubbles
Fixing paint bubbles is as easy as scraping the bubbled paint with a putty knife and sanding them away. Making sure that the paint and the surface area beneath it are completely dry first. This will avoid the recurrence of the bubbling and other problems with paint.
Once you have a smooth finish, ensure there is not left over debris or dust. Seal the surface area using the best paint primer for that area. Let the area dry completely at least 30 minutes before applying any fresh paint.
If painting rooms like the kitchen, bathroom or laundry room, consider the installation of exhaust fans as these rooms have high levels of humidity and will encourage paint to bubble.

How To Prevent Paint Bubbling
By making sure that the surface is clean and dry, applying a primer – sealer and letting it thoroughly dry is one step to preventing paint from bubbling.
If drywall repairs have been done, ensure you prime the new joint compound with a latex primer for exterior and for those high humidity rooms on the interior like kitchen, baths or laundry rooms.
Avoid painting in extreme temperatures or high humidity days this especially true for all exterior painting. Let enough time pass for the paint to thoroughly dry before exposing it to water or moisture. Make sure there has been no rain for at least 2 to 3 days prior to painting any exterior painting surface and 2 to 3 days after painting. This allows plenty of time for the paint to fully cure, providing the best long lasting protection of any exterior surface.
For interior painting it is important to ensure the proper paints for the area are used and ensure the best adhesion of the paint to the surface. You can find the information on any paint can or ask a painter. It is a good idea to install exhaust fans if at all possible or make sure you open up windows when using the hot shower or have a lot of moisture/humidity build up. Whether it’s from showering, cooking or laundry, having air circulating in these higher moisture areas will prevent the buildup of moisture that may cause the paint to bubble and it will also help prevent the build up of mold.
These tips can be helpful if you are doing your own painting, if it seems like you can use the help of a professional rather than tackling it on your own, contact a painting company in Ottawa.
